
As you know, my husband grew up on a farm and we now own a small pork business. We met while I was working on The Other White Meat Tour back in 2008. Needless to say….. pork seems to rule my life these days! As a result, our yet-unborn child was nicknamed “Billy Bacon” while we were pregnant, and it later morphed into “Baby Bacon.”
Fittingly, our little man was born just two days before college football season kicked off, which meant he’d have his first Halloween as a little teeny tiny guy. In my first attempt to get back into my love of Pinterest and crafting as a mommy, I decided it would be oh-so-cute if we had a REAL Baby Bacon for Halloween this year.
Let me remind you, I’m a new mommy, so time is limited and I knew if I was going to pull this off, I needed to keep it simple and use a few no-sew “cheats” along the way. Let me tell you… the result was the most adorable baby (no bias, of course), in a bacon costume!

If you’d like to make one of your own, below are a few of the steps I took to get the job done. Did I mention that the whole thing was less than $10?!
Materials:
– 1 yard red felt ($3 — Jo’Ann’s happened to have felt on sale at the time of this project!)
– 1/2 yard pink felt ($1.50)
– 1/2 yard tan felt ($1.50)
– Heat N Bond Ultra Hold Iron-On Adhesive ($2.99)
Steps:
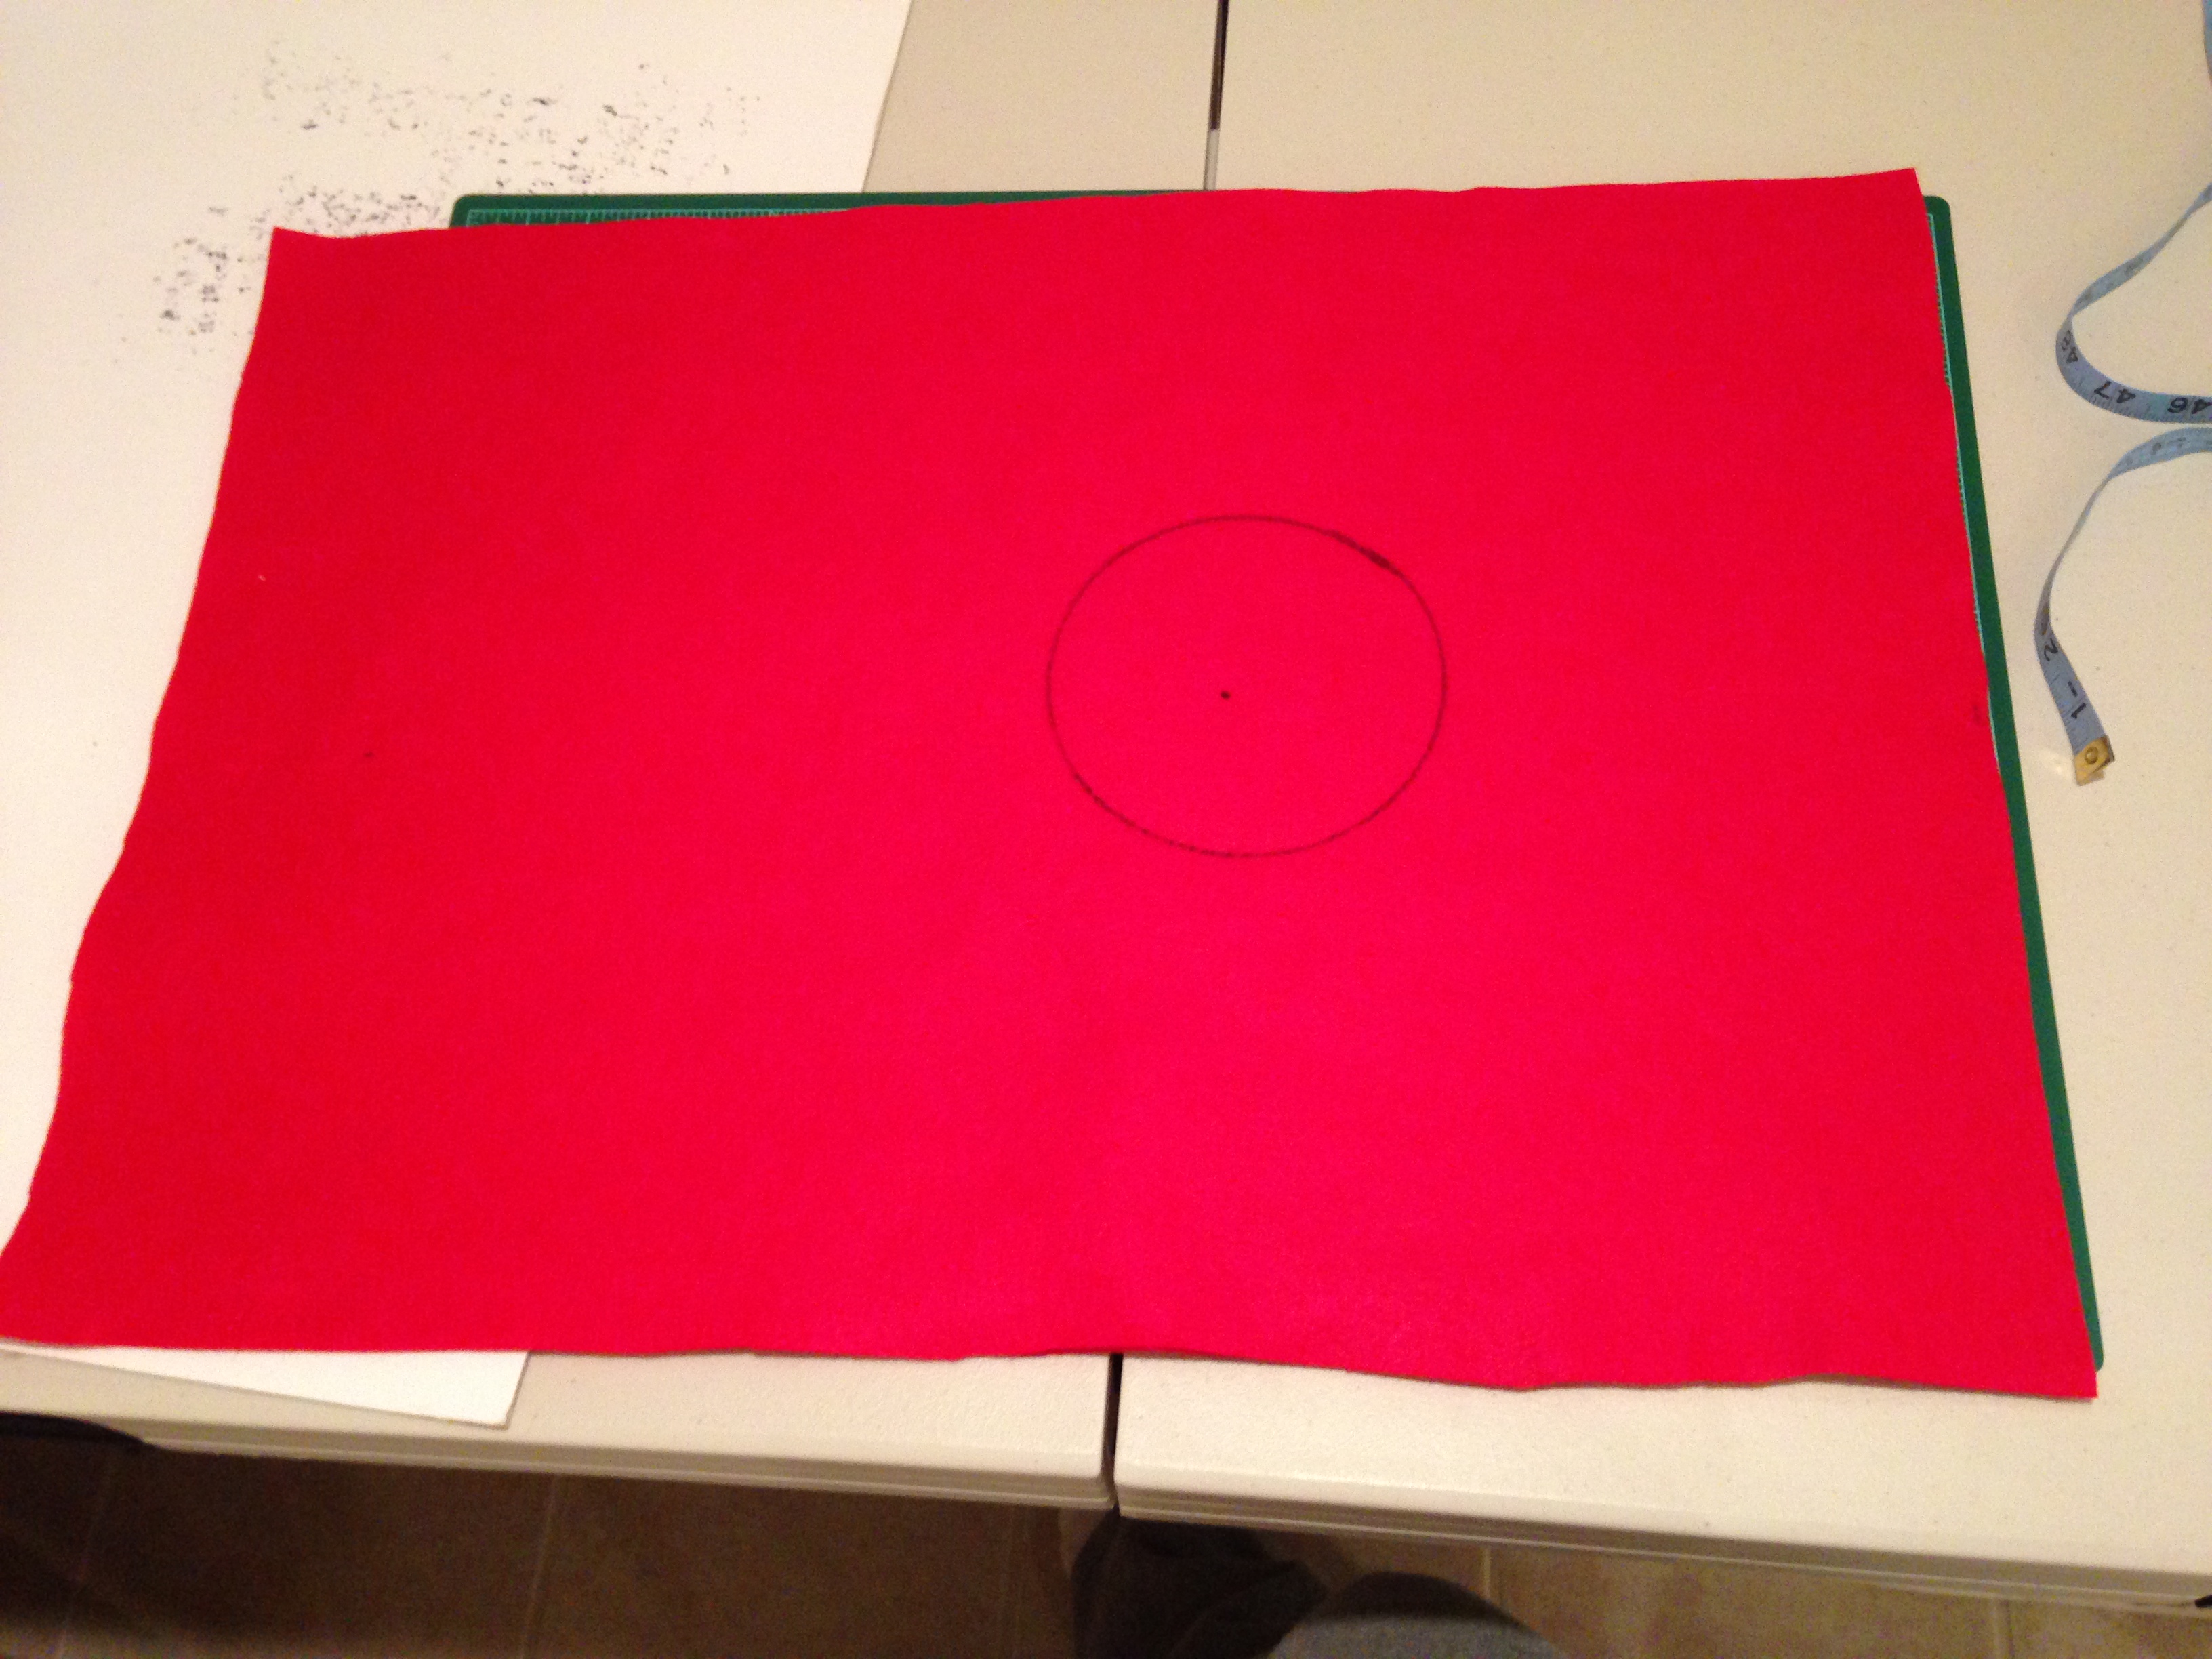
1. Cut your red felt into two rectangles: 18″ x 26″. Our baby was two months old for Halloween so if your baby is older, consider increasing the size of the felt rectangles.

2. Measure about 10″ down from the top of one piece of felt and make a dot with a Sharpie. This will now be your “front” piece. I then used the lid from some Frog Tape laying around (we’re fancy around here) as the circle for the hole for the head and cut that circle out.


3. Cut a few wavy strips of pink and tan felt that are all random (again, super fancy in this house) that are 26″ long and pin them to your “front” piece and secure with pins. Once you’ve lined them up and pinned, cut the strips where the head hole is.


4. Turn on your iron and pull out the ironing board. Using Iron-On Adhesive, attach your pink and tan pieces to the red piece. We all know bacon is the most amazing food out there, with all of it’s imperfections, so there’s no pressure to make these look “perfect.”


5. Once these all cool off, it’s time to attach the front piece (the one with the pink and tan strips attached) to the back piece (boring ol’ rectangle). I used one long strip of the adhesive across the top and then a similar approach on the sides but left a small 4″ long area without adhesive for little baby arms to stick out.


6. Put your adorable little bambino inside and cross your fingers for a smile like this! 🙂

Happy Halloween!
– Abigail –


Abby…..what a fabulous post. You are such a good writer!! And yes, that is the cutest smile in the world. Your Mom sent me the picture last month and it’s my “go to feel good” picture. I pull it up on my phone and smile a smile as big as Baby Bacon’s every time I look at it!
Love you guys, Aunt Sherri
LikeLike